A Guide to Laying Paving
Laying paving can feel like a huge job, but with the right tools and techniques, it can be a rewarding DIY project. Here's a guide to laying paving that will help you get started.
Plan and Prepare
The key first step is to plan and prepare the area. This includes measuring the area, ordering the right amount of paving slabs, and clearing the area of any debris or plants. It's also important to consider the slope of the area, as this will affect the drainage of the paving.
Lay a Base
The next step is to lay a base for the paving slabs. This involves digging out the area to a depth of around 15cm, then filling it with a layer of hardcore followed by a layer of sand. The sand should be levelled out and compacted to create a firm base for the paving.
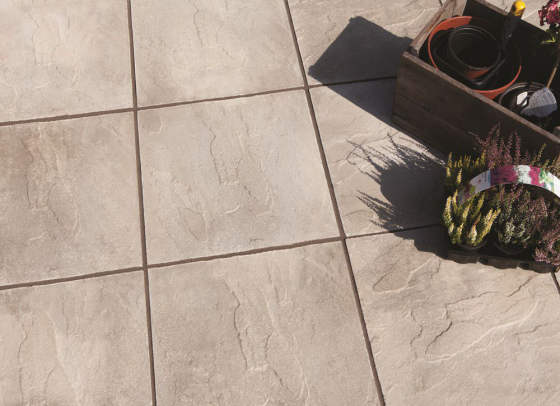
Lay the Paving
Once the base is in place, you can start laying the paving slabs. Start at one corner of the area and work your way outwards, using a spirit level to ensure each stone is level with the next. Use a rubber mallet to tap each stone into place, and add or remove sand as necessary to adjust the height.
Cut the Paving
If you need to cut any paving slabs to fit around edges or corners, use a hammer and chisel or a specialist cutting tool. Always wear protective eyewear and follow the manufacturer's instructions carefully.
Finish and Maintain
Once the paving is in place, finish the area with a layer of jointing sand. Brush the sand into the gaps between the stones, then sweep away any excess. To maintain the paving, regularly sweep it to remove debris and wash it with a gentle detergent and water to keep it looking clean and tidy.
With these steps, you can successfully lay your own paving and create a beautiful outdoor area. You will take pride in your patio for years to come!