How to create a gravel pathway for your garden
Gravel pathways are a charming and practical addition to any British garden. Not only do they provide easy access and structure, but they also blend beautifully with a variety of landscape styles. Whether your garden is formal or informal, a gravel path can help define spaces and add a touch of rustic elegance.
This guide will walk you through the steps required to create your own gravel pathway, from planning to finishing touches.
Step 3: Laying the Foundations
To prevent weeds and provide stability, lay a weed membrane along the length of your trench.
Next, add a layer of compacted hardcore or MOT Type 1 aggregate, about 5-7cm deep.
Use a tamper or plate compactor to ensure a firm base; this step is crucial for a long-lasting pathway.
Step 4: Installing Edging
Bordering your path helps keep the gravel in place and creates a neat finish.
You can use timber, metal, brick, or stone edging, depending on your garden’s style.
Secure the edging firmly so it stays upright and forms a clear boundary for your gravel.
Step 5: Adding the Gravel
Choose gravel that’s suitable for pathways, such as 20mm angular gravel, which locks together well and doesn’t shift as much underfoot.
Pour the gravel onto your prepared base to a depth of 5-7cm.
Spread it evenly with a rake, making sure it sits just below the top of your edging.
Step 6: Finishing Touches
Walk over the pathway to help settle the gravel, then top up any low spots as needed.
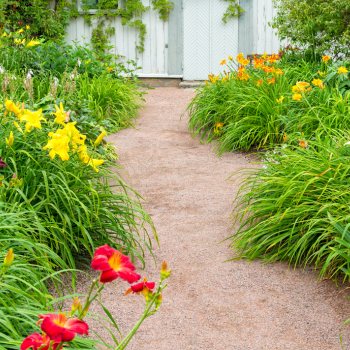
Consider adding stepping stones if you want a more defined walking surface, or plant low-growing flowers along the edges for extra colour and charm.
Maintenance is straightforward - just replenish gravel and remove weeds occasionally.
Creating a gravel pathway is a rewarding DIY project that enhances both the look and functionality of your garden. With careful planning and a bit of effort, you’ll have a beautiful path that invites you to explore your outdoor space all year round. So, grab your shovel and get started - your garden will thank you!
Speak to your local branch to get your supplies! and view our landscaping brochure for more inspiration!